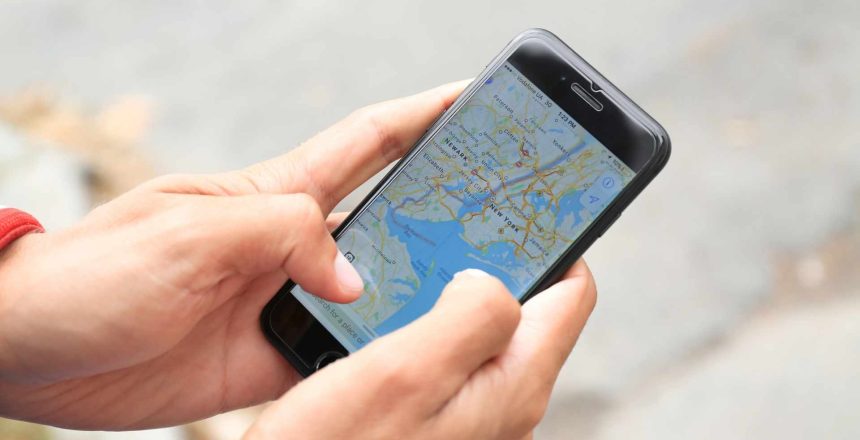
Having an online platform for your church is a must in 2022, and we know that tools like social media are always there to help us achieve the goal of digital presence. But Google offers My Business, a function that helps you to set up your church to appear on Google Maps and search results, and then manage it afterwards. If you’re interested about this feature, in this article we will teach you how to make good use of it!
Chances are your church is already listed in the Google My Business database in case it has been out there for a long while, so first of all, you should check if it’s already there. If you have a new church, you will most likely have to add it by yourself. In either case, here’s what you have to do:
1. Go to Google My Business.

2. Click on ‘Sign in’ to access your Google account you will use for managing your church. If you don’t have an account, you can always create one for free.
Where do I start?
1. Here’s where you start providing all of the information that will be shown in both Google Maps and Google search results, starting with your church name. Write it in the search bar to see if it appears in the dropdown list. If it does, click on it to proceed. If it’s not, click on the ‘Add your business to Google’ and follow the steps.

2. The following screen allows you to read the Terms of Service and Privacy Policy. After taking a look at that, you can click on the blue ‘Next’ button.
3. Moving on, now you will have to select a business category out of a variety of options. You can start typing the words you think describe your church the best, and when a match appears in the dropdown list, click on it to select it. After you’re done with this part, click ‘Next’.

4. Here’s where the magic happens. In this screen you will be asked if your church has a physical location which you would like to be visible on Google Maps and Search. Selecting ‘Yes’ in this menu is what will allow your church to appear in your town or city map, and the search results of anyone who looks for it. After selecting ‘Yes’, click ‘Next.
5. Now you will be prompted to write down your church address. Fill in the Country, Street address, City, State and ZIP code spaces to continue. Once you’re done, click ‘Next’.

6. If your church has a service area outside of the location you just provided, here’s where you click either ‘Yes’ if it does, or ‘No’ if it doesn’t. Then click ‘Next’ once you provide the input accordingly.

7. If your church does have additional service areas, write them down in the text bar displayed on this screen, and then select them from the dropdown list. You will have a ‘Suggested service areas’ section with zones you would probably like to add to your church information. Click ‘Next’ to move on from here.
8. In this section you will provide contact details that will be shown to your potential visitors when they take a look at your church online. You can type in your church phone number, and your church’s website URL. This is going to be the last screen that requires your church’s information. After finishing here, click ‘Next’, and then click ‘Finish’ on the next screen.

Verifying your Business
Having provided all the necessary info for your church to be added in the Google database, now it’s necessary that you verify that you own it, in order to take full control and management over your Business profile. After clicking on the ‘Finish’ button, you will be shown a screen that starts your verification progress. Once there, you can follow the next steps:
1. Write down your Contact name in the first text bar.
2. If you provided the physical address that belongs to your church, you will see it displayed on this screen. If you haven’t, write down an address where you could receive mail to, which will be necessary for the next step.
3. After you write a valid address, click on the ‘Mail’ button. This will allow you to receive a mail (in a time span of about 5 days) with a Verification Code for your business.
4. Once you have the code in your hands, go to the Google My Business main page, then click on ‘Info’, and then click on ‘Verify now’. Enter the code, and then click ‘Submit’.
That’s it!

